
|
Sander Verhoeven
|
|
Character Design (Chronological Order)
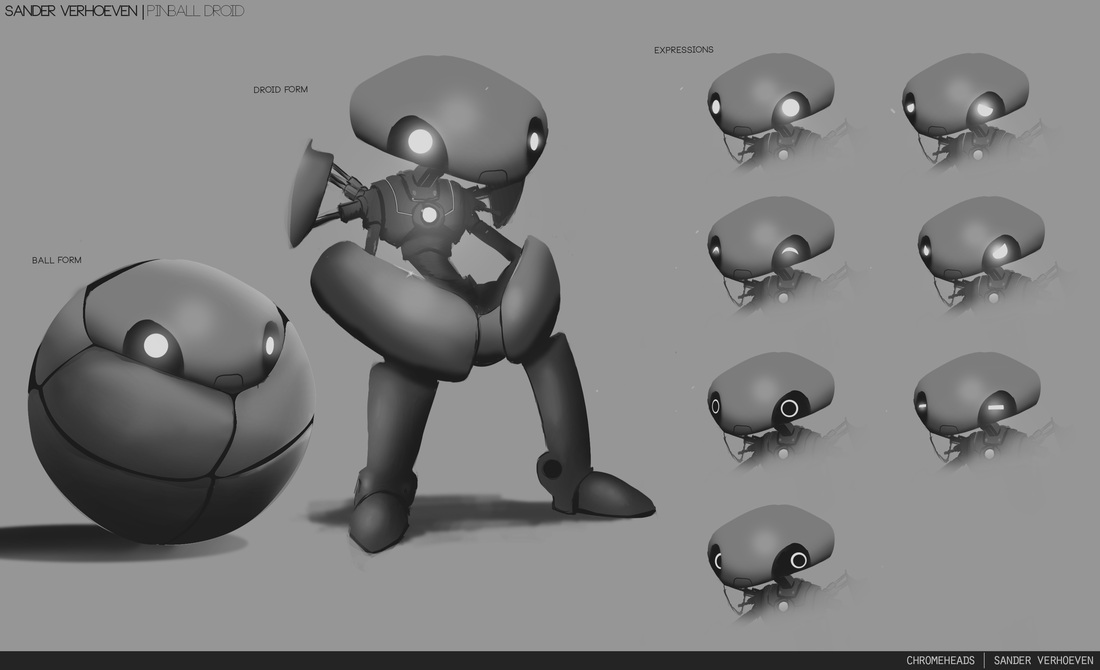
Before we started working on this project, there was already a general idea about the cinematic. This idea had a pinball as main character. From there we started concepting and brainstorming. I was not looking forward to having a ball as main character, so I started concepting and used transformers, medabots and other mechs as reference. The most important reference was the armadillo, which is a creature who is able to roll himself up into a ball.
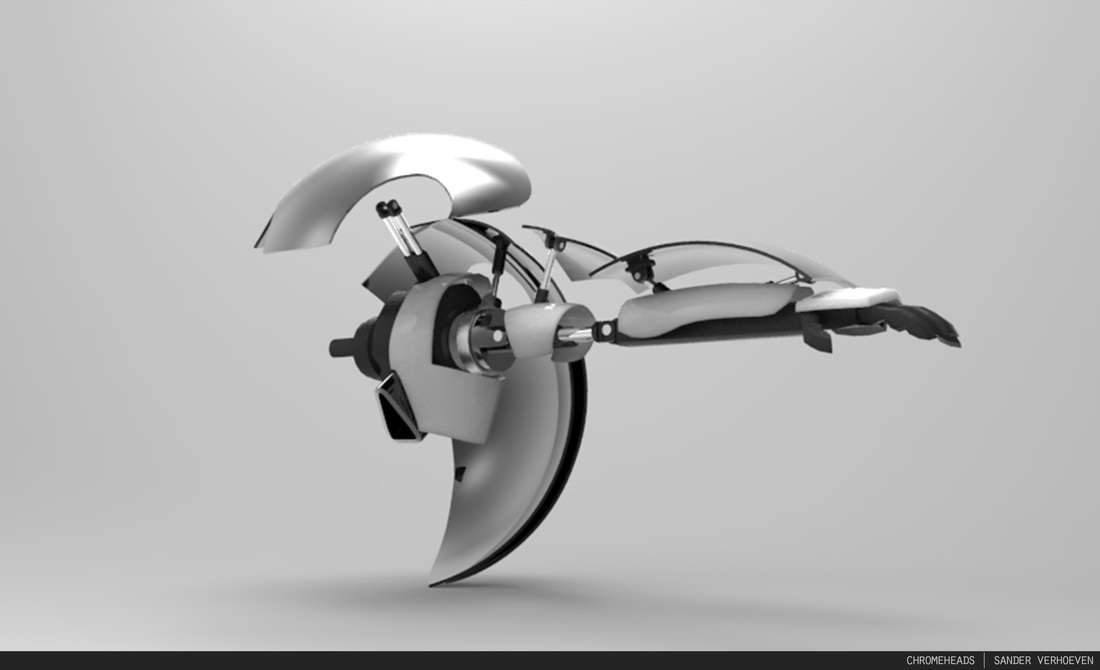
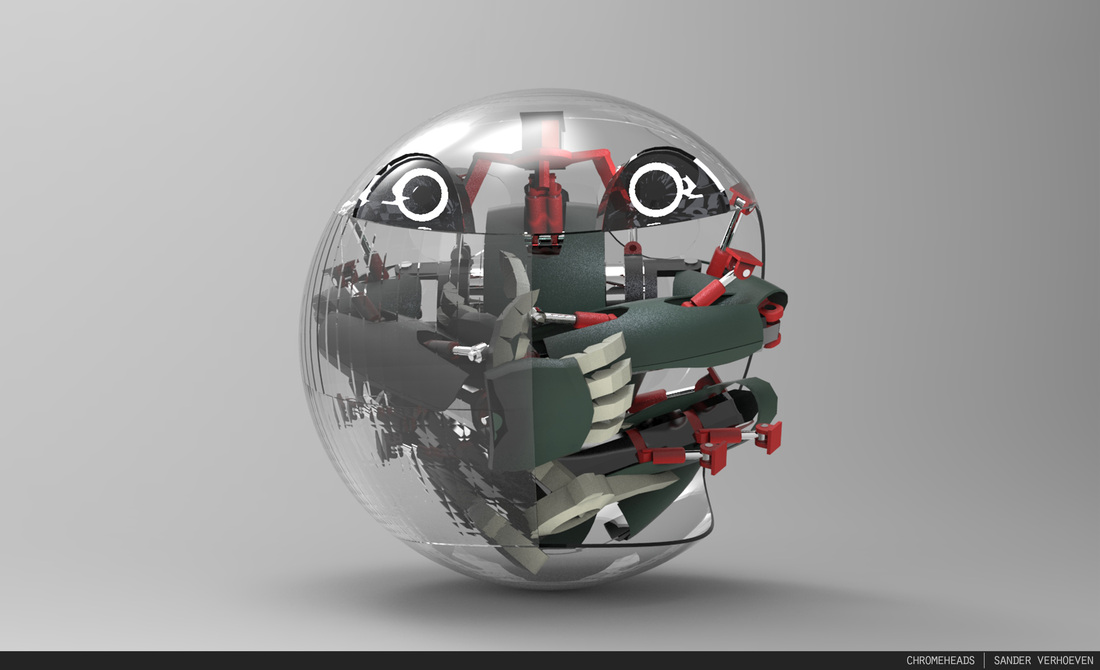
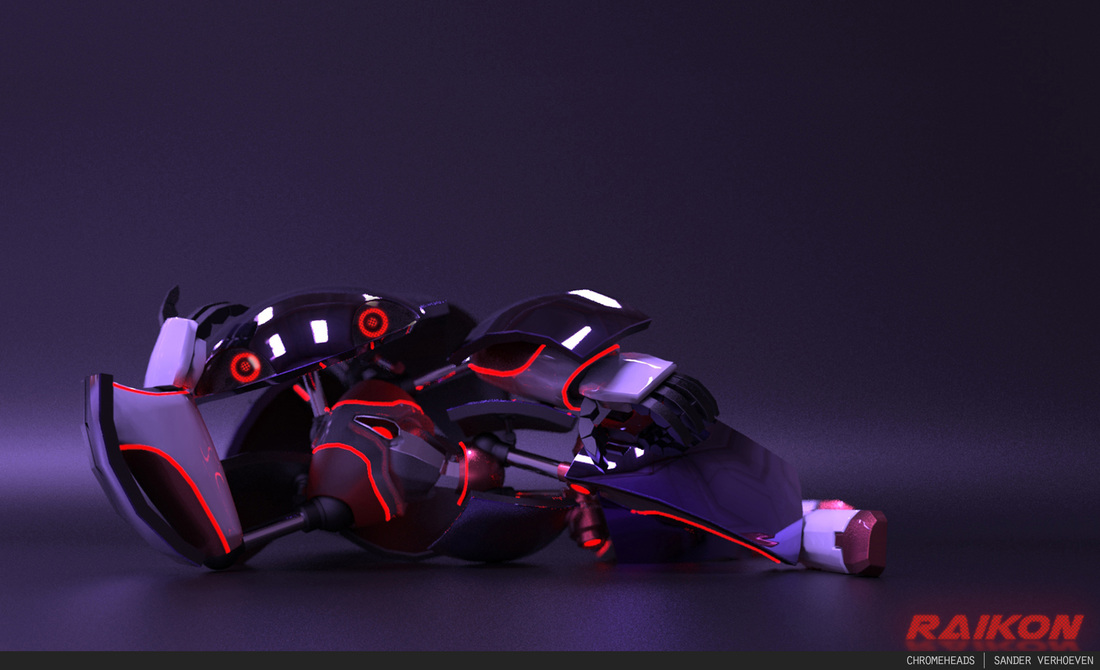
To make sure the exterior plates of the ball would fit exactly into place I used hydraulic pistons. Also the limbs are build out of pistons so they can retract. This made it possible to get everything back into the ball.
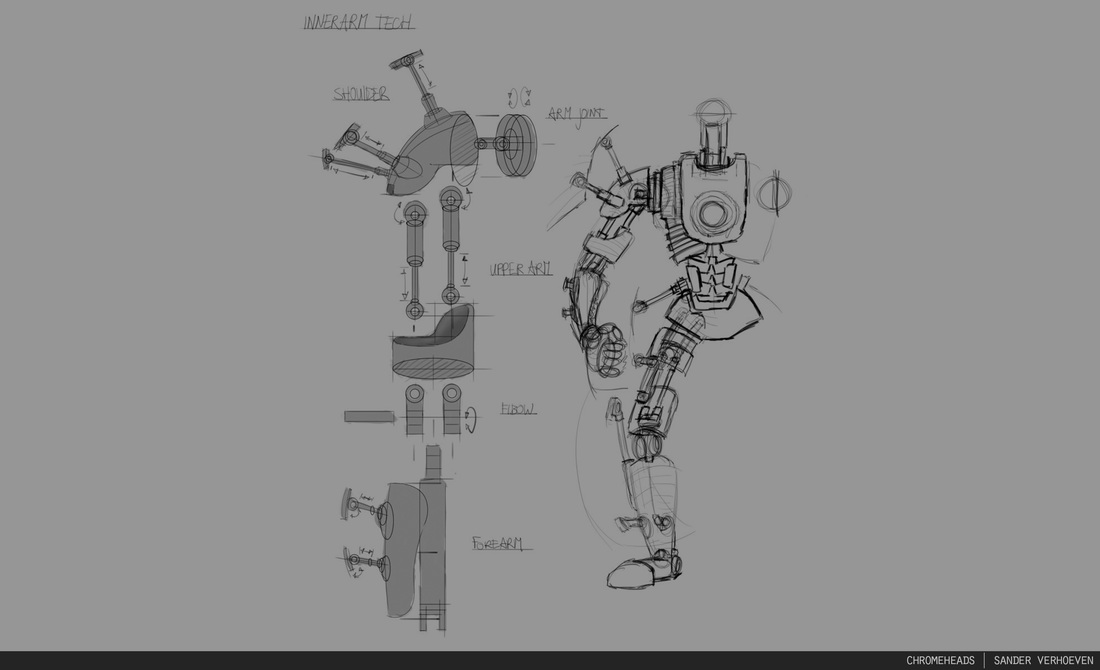
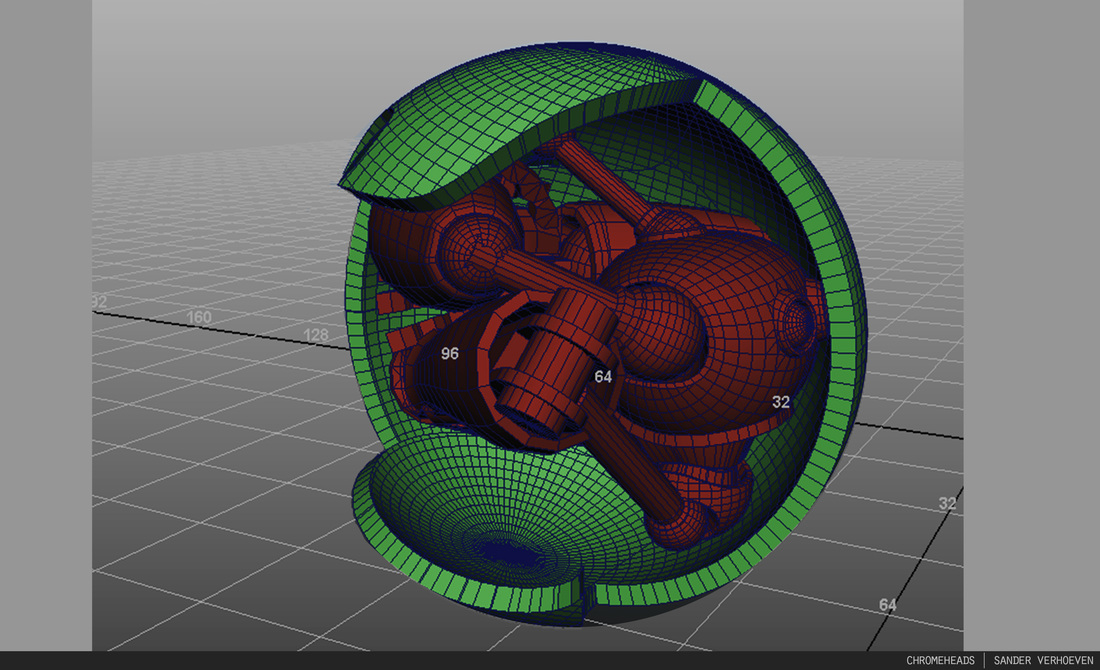
Dividing up the ball into believable bodyparts was quite a puzzel. I had to keep the transformation animation in the back of my head while doing this.
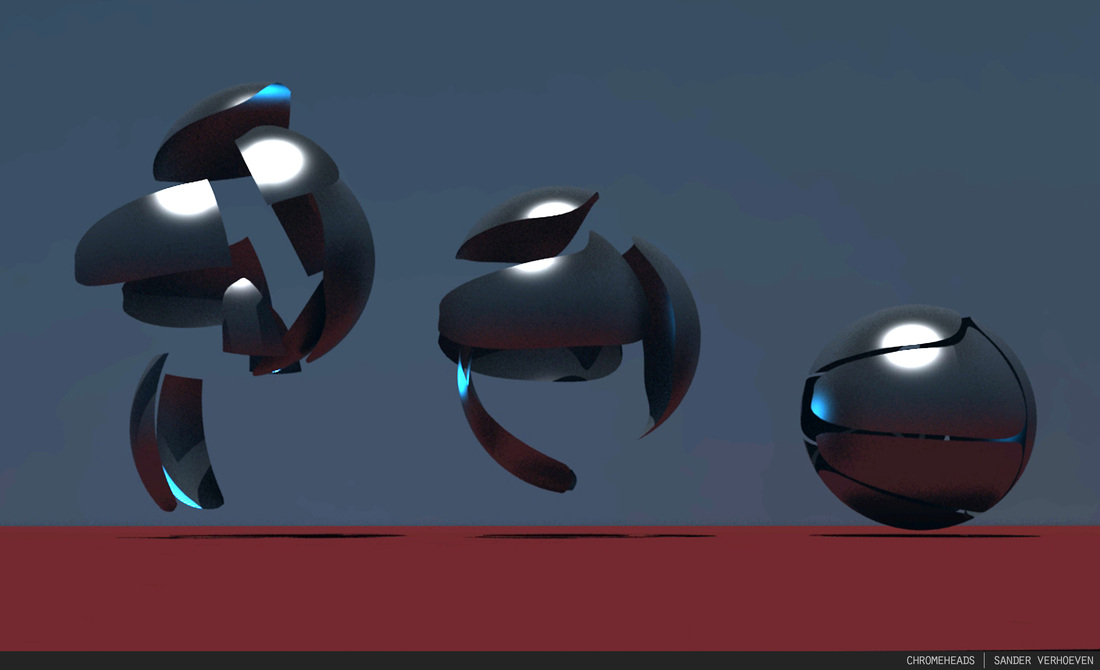
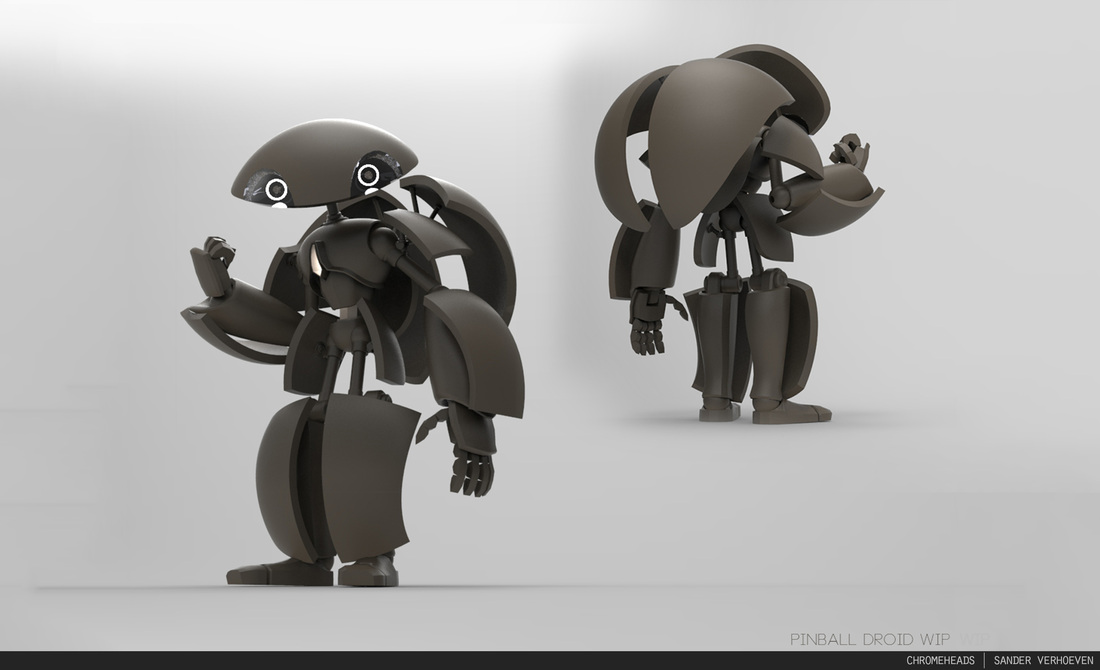
Below you see the process of the first droid being build.
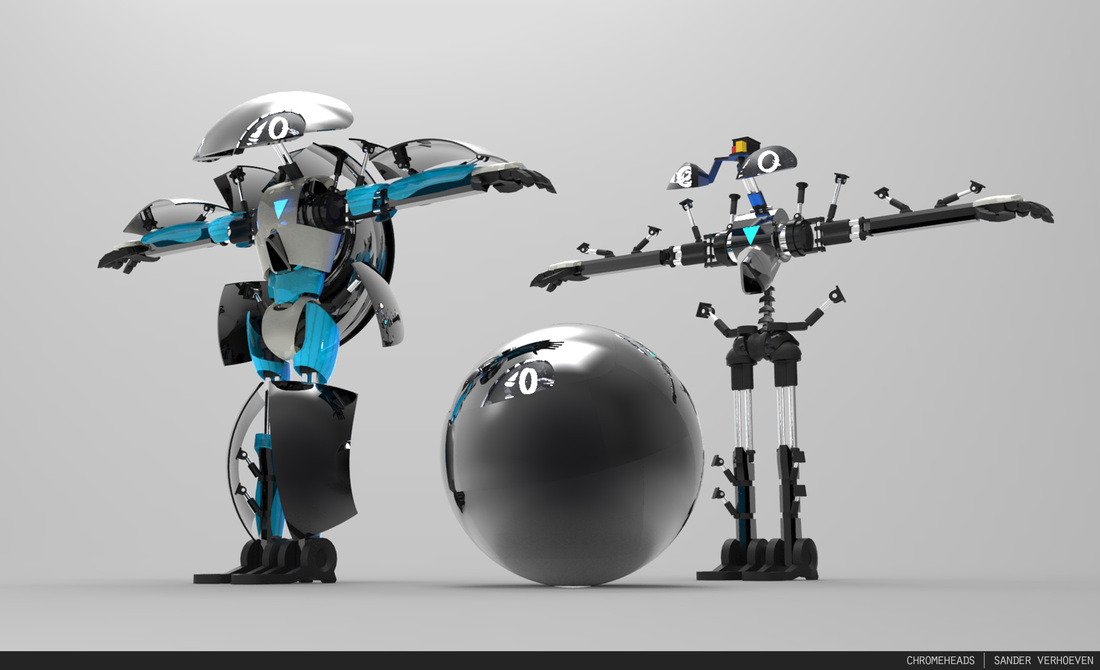
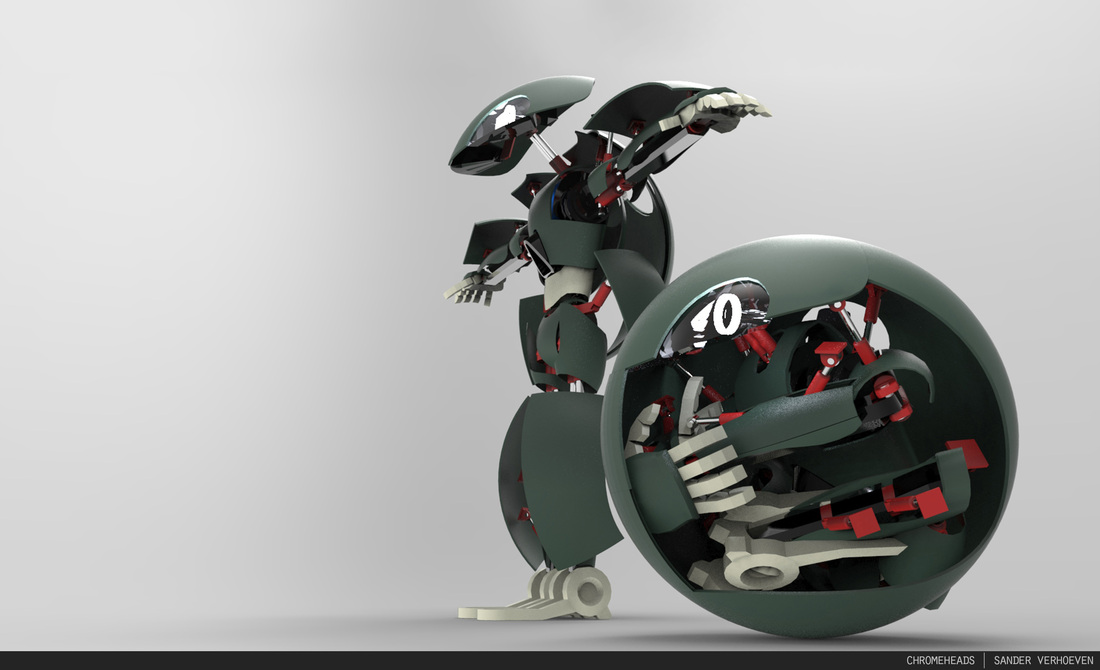
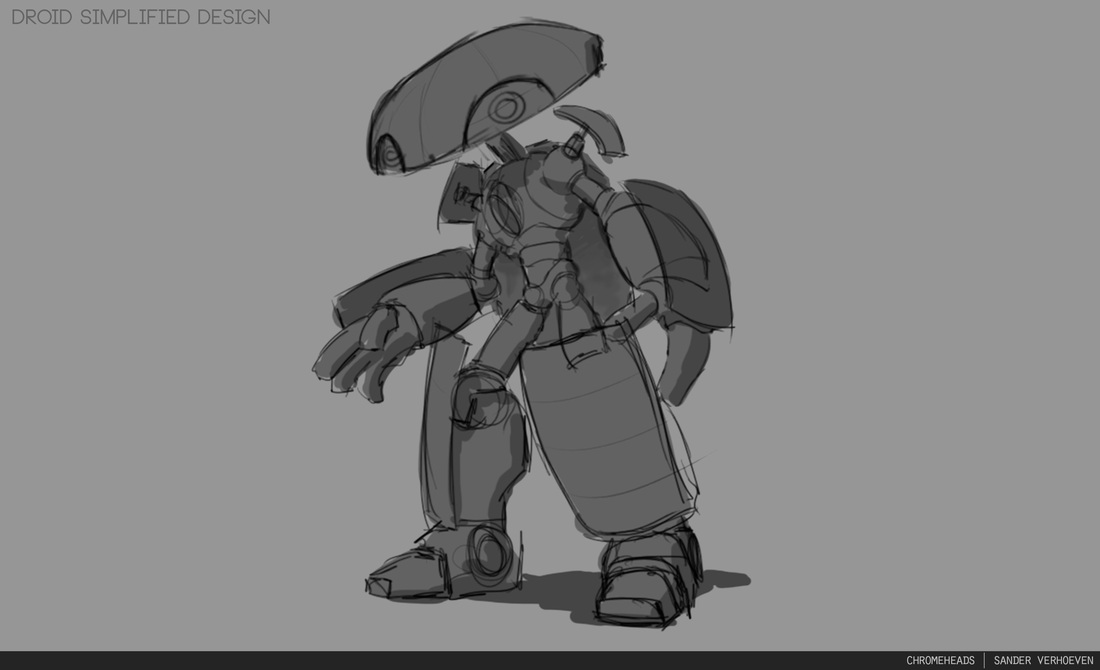
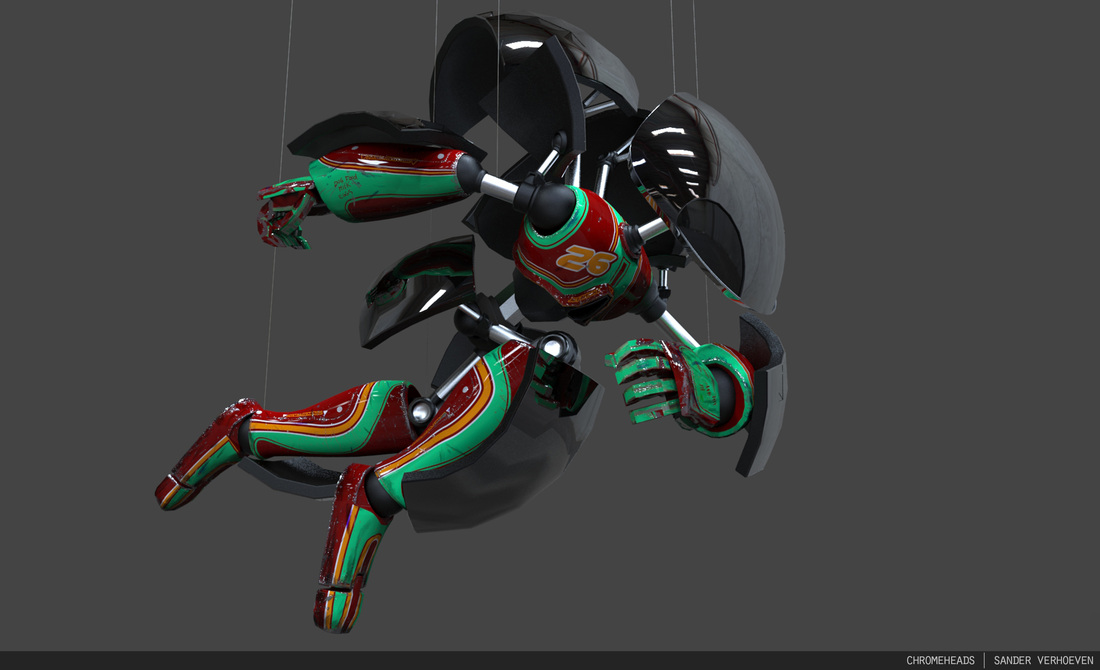
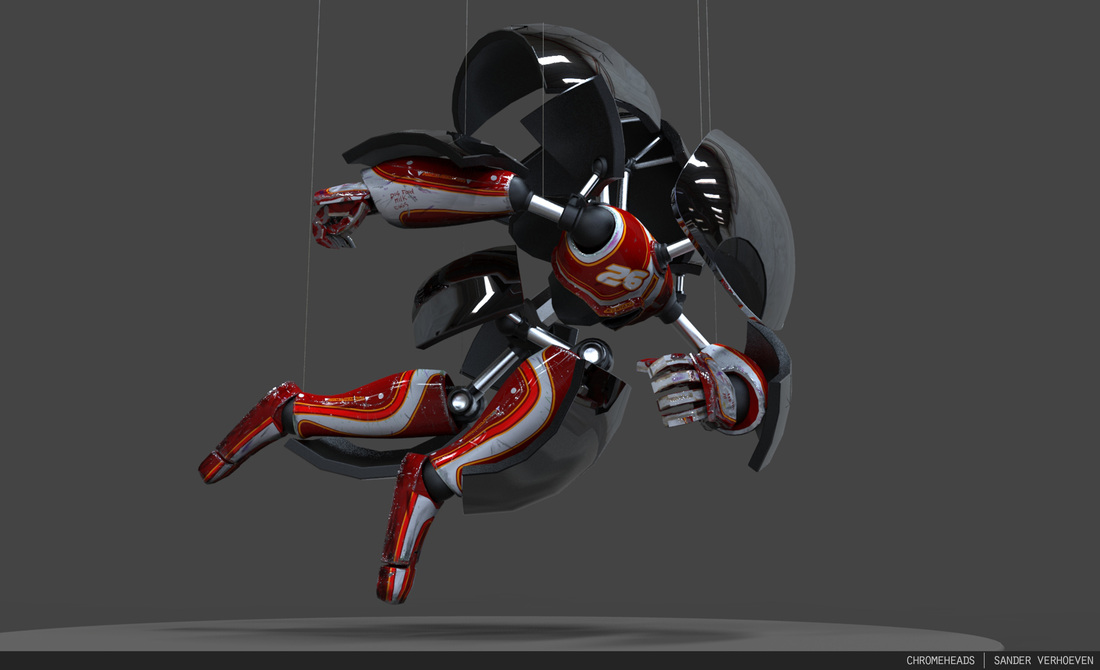
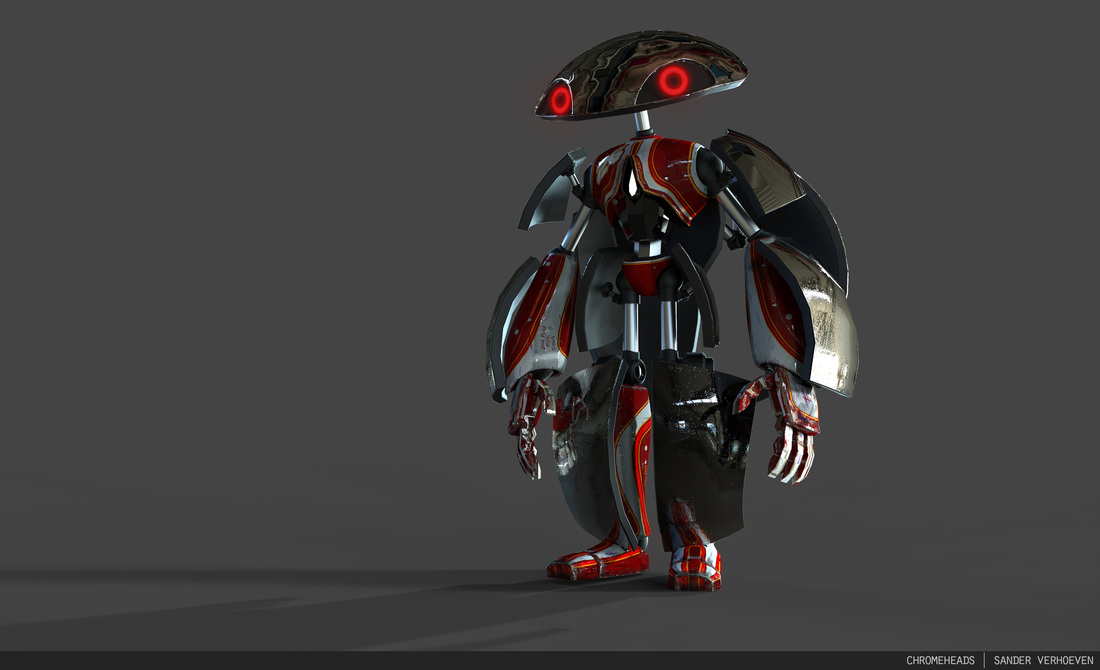
When the droid was finished and ready to rig. It turned out it became too complex and it would take up a lot of time to make a believable rig. So we agreed to simplify the design. I got rid of most of the pistons and also improved the silhouette since I had to start from scratch. Below you can see the process of the simplified droid being build.
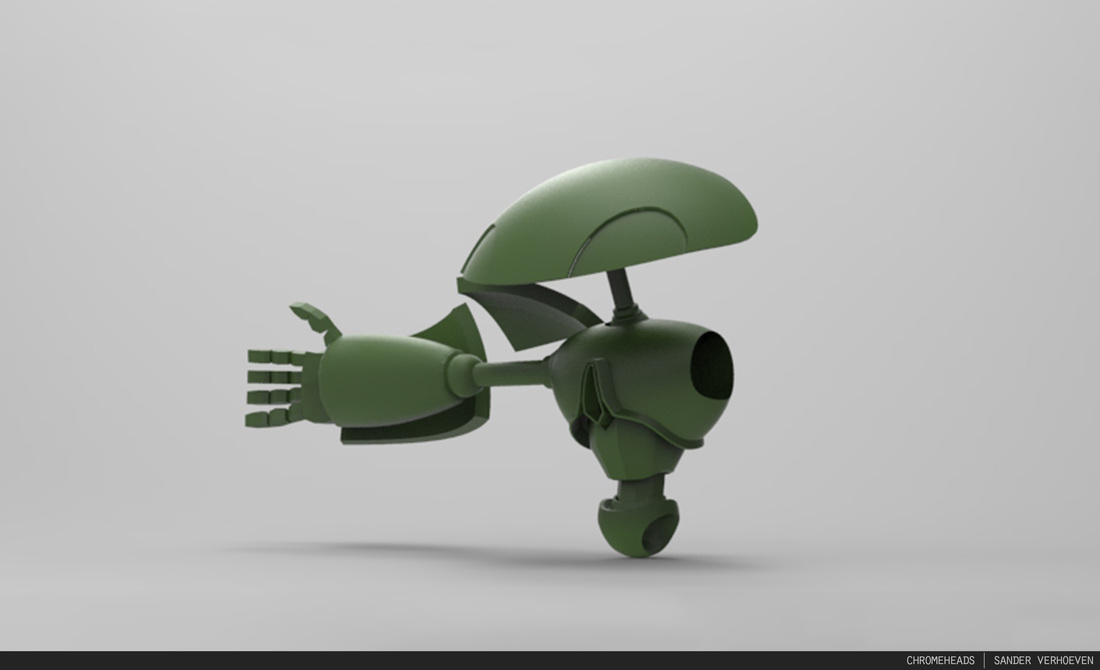
Like a little baby in the belly!

Character Textures (Chronological Order)
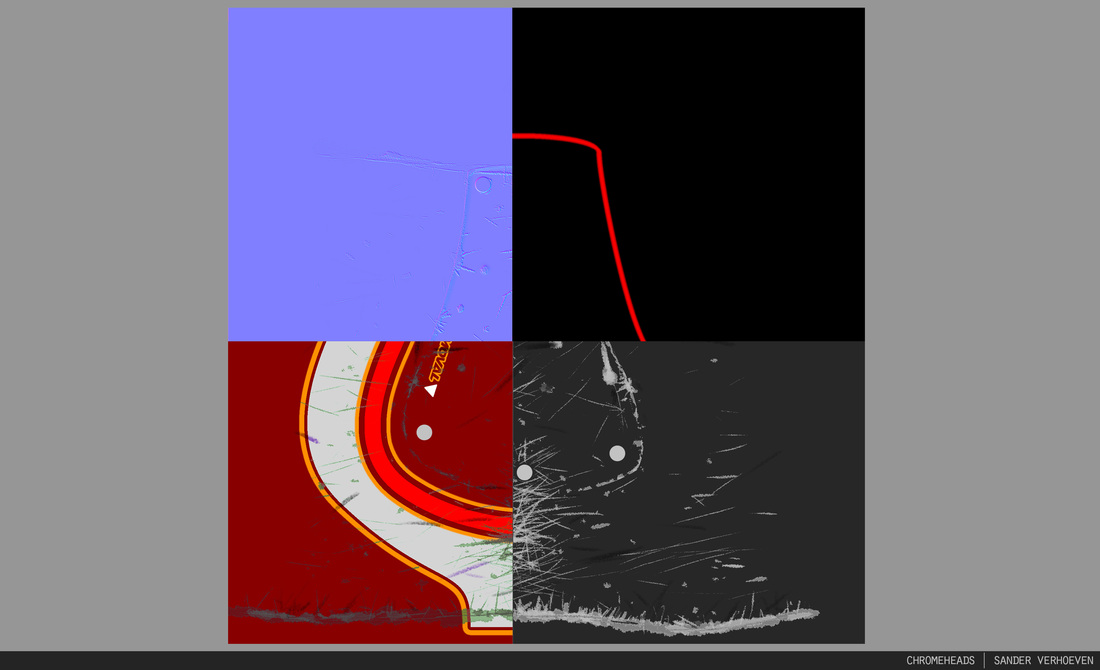
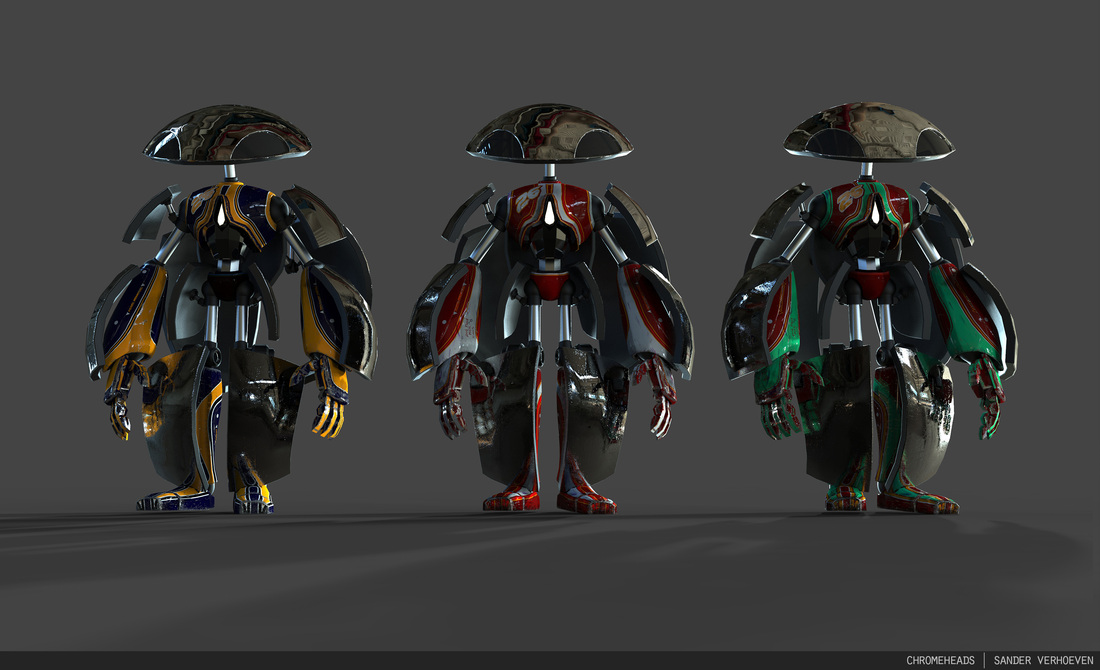
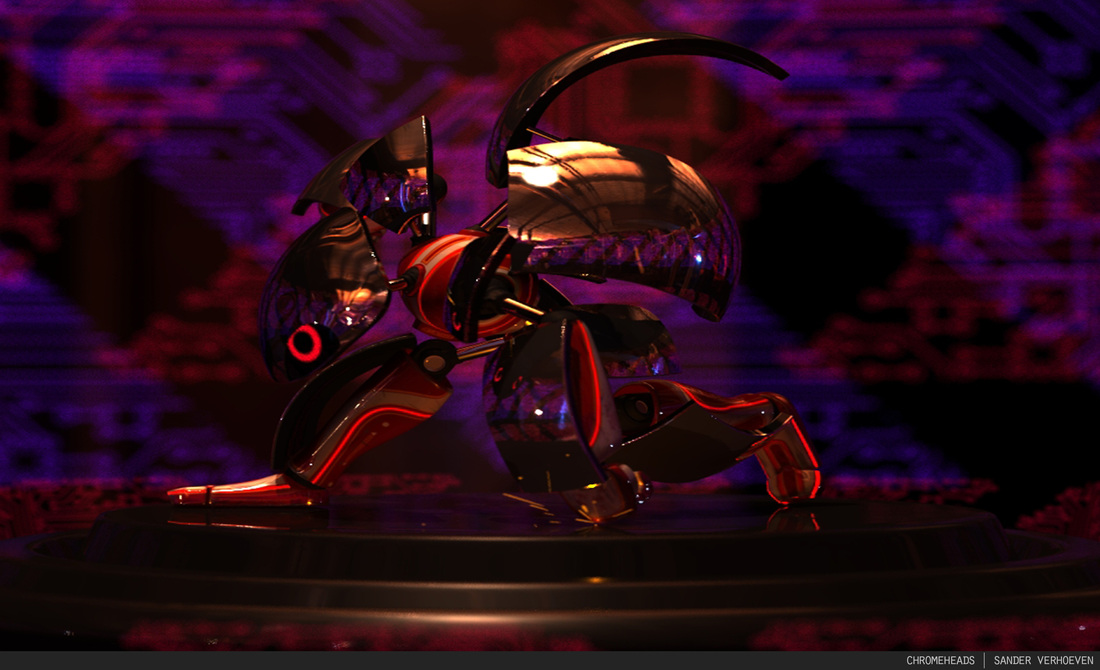
Before I started texturing I made a few overpaints to show what I wanted the character to look like. I used hotrod paintjobs as reference to make him look like a though guy. I went for pinstripes, metalic paint and some cool decals. I wanted him to look like he had been smashed around on the pinball floor quite some times before, so he needed some damage and trade marks of other paint.
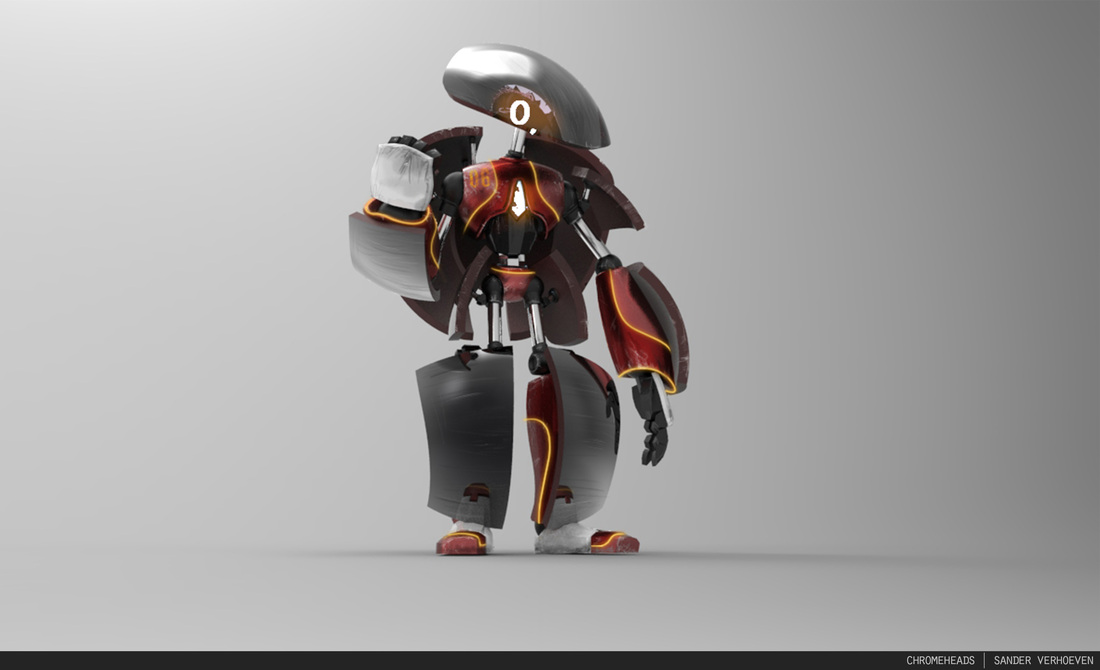
I used the layers in such a hierachy that I could easily control various settings. Using layer styles I could change the entire colorscheme quite easily, without worrying about the scratches or other paint marks.
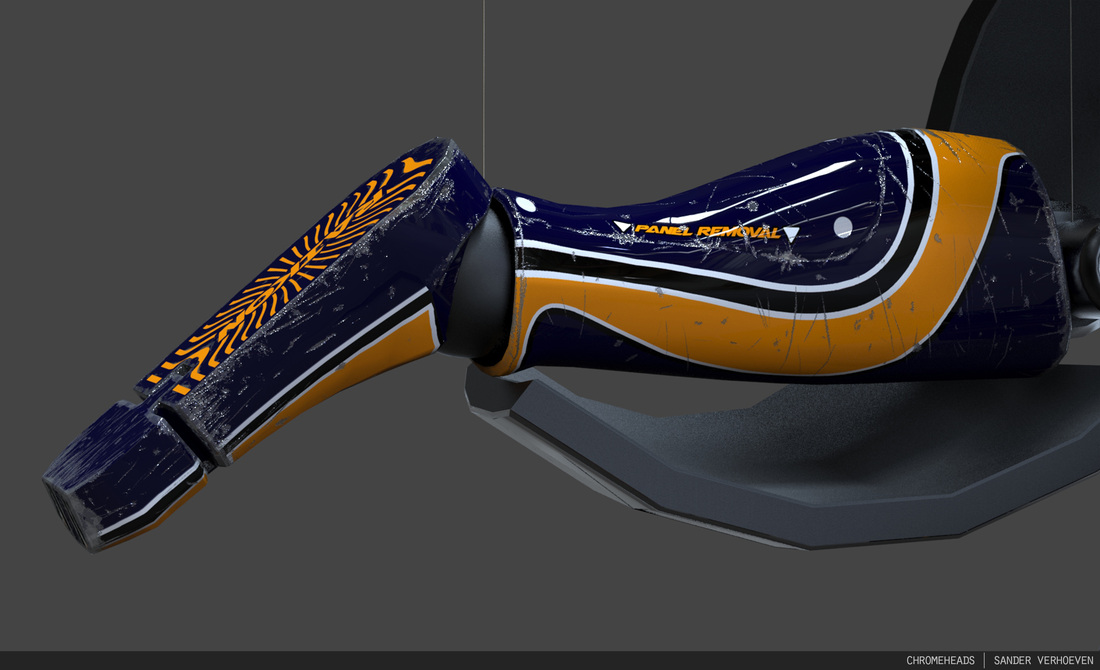
The character internal body parts consists of five 2K Uvmaps: Feet, Legs, Chest, Arms and Hands. These all have a diffuse, specular, normal and emissive maps. The external plates consists out of 6 Uvmaps, which only have a normal and a specular map. In total the character has 39 maps.
Environment Textures
Below are some renders of environments I textured. Most of these are based on the pinball floor texture.
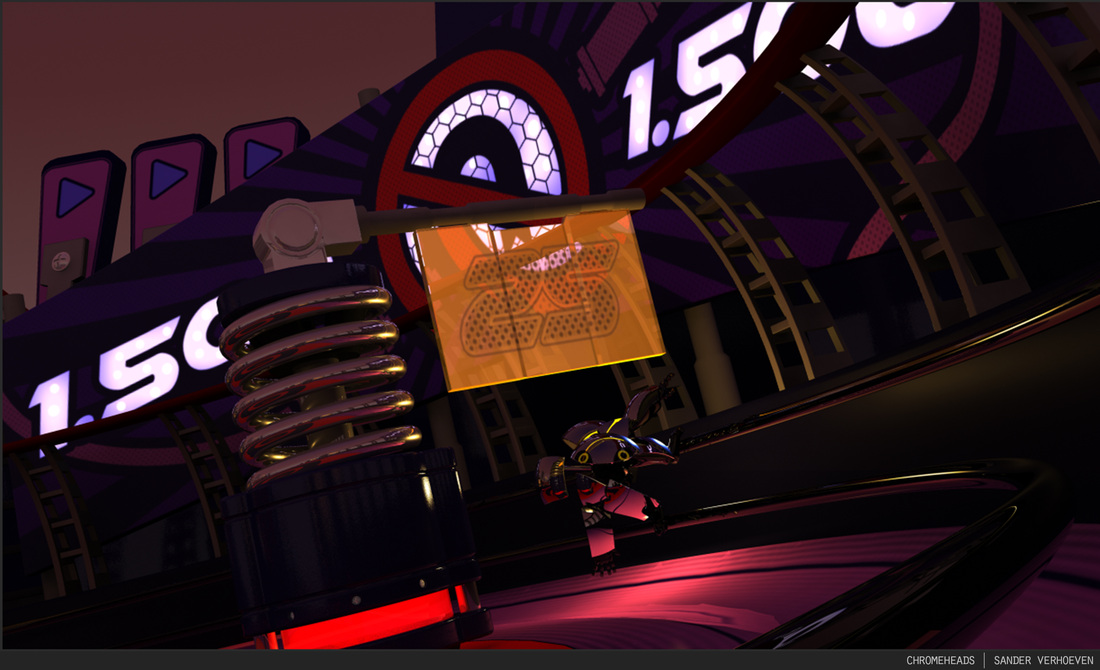
Below you can see the pinball floor texture. As reference I used alot of other pinball machines. The illustrations are inspired by some images of a strange music style called 'Chiptune'. The floor uses 6 maps of 8000x8000 pixels (which are quite heavy). Among those maps is a RGB map which we used to control the flickering of the lights.
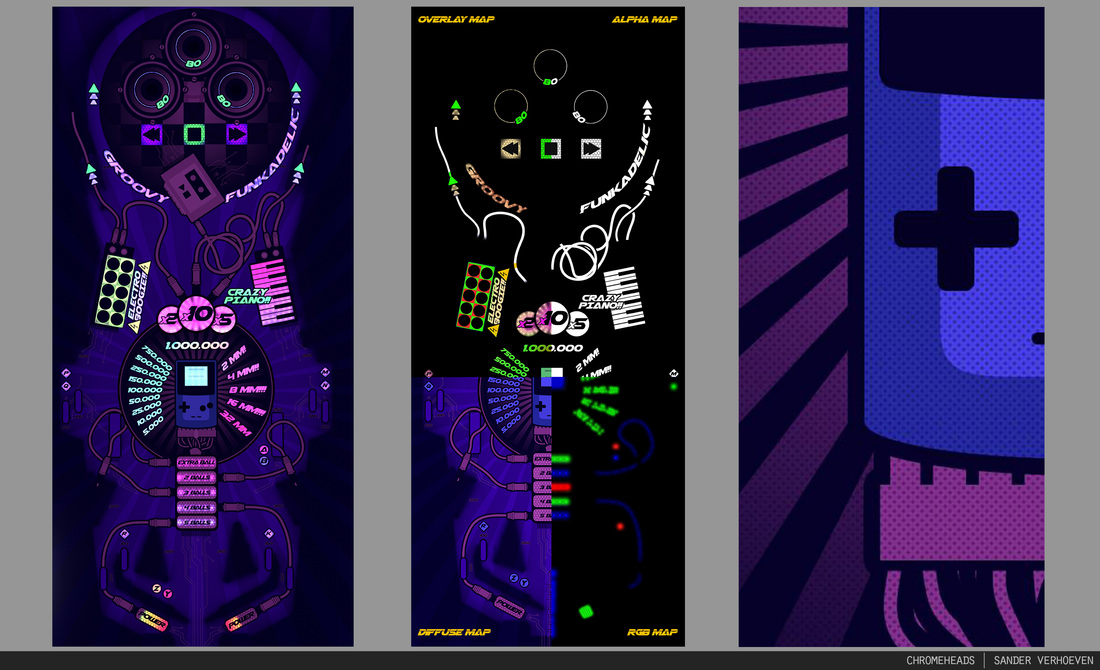
Rachel and I work very well together, since she is very good at setting up shaders and I can supply her with textures. Below you can see an example of our teamwork. As I mentioned before the lights are controlled by a RGB map. Rachel also set up a shader which makes it look like the lights are coming from beneath the floor by using a parallax effect linked to the camera.

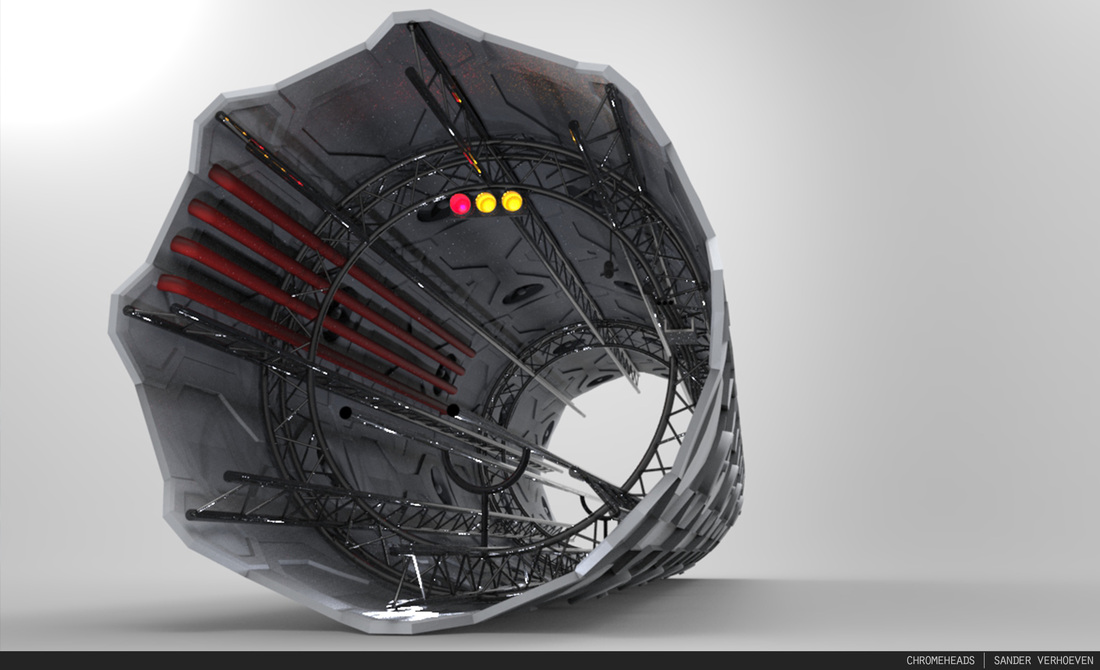
Concept Art / Modeling
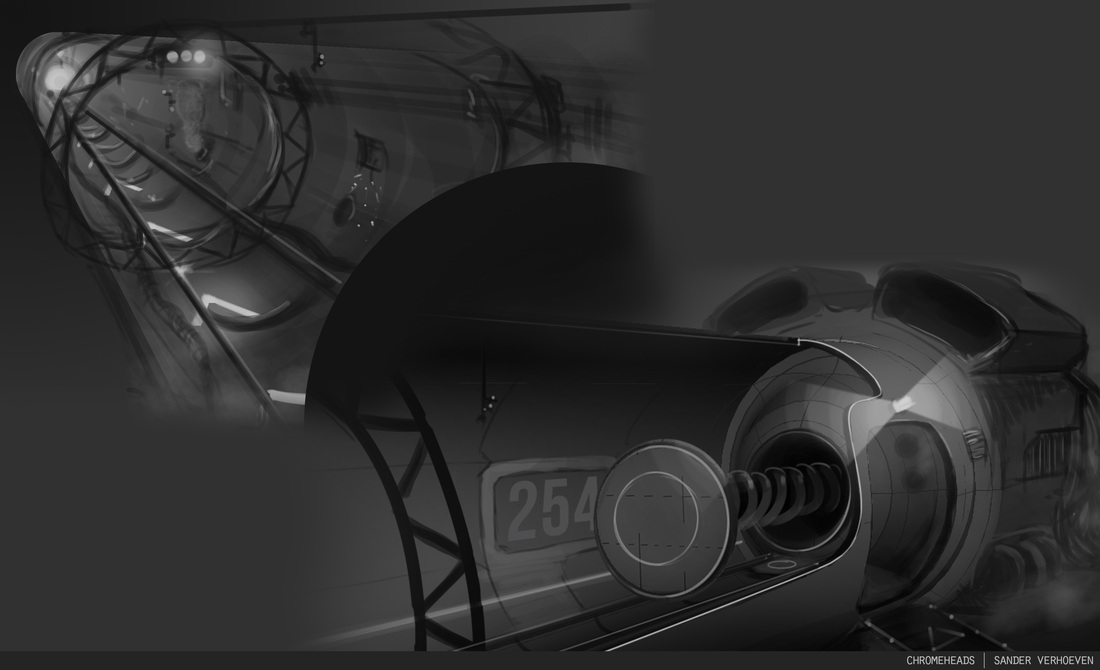
Building block for the tunnel scene
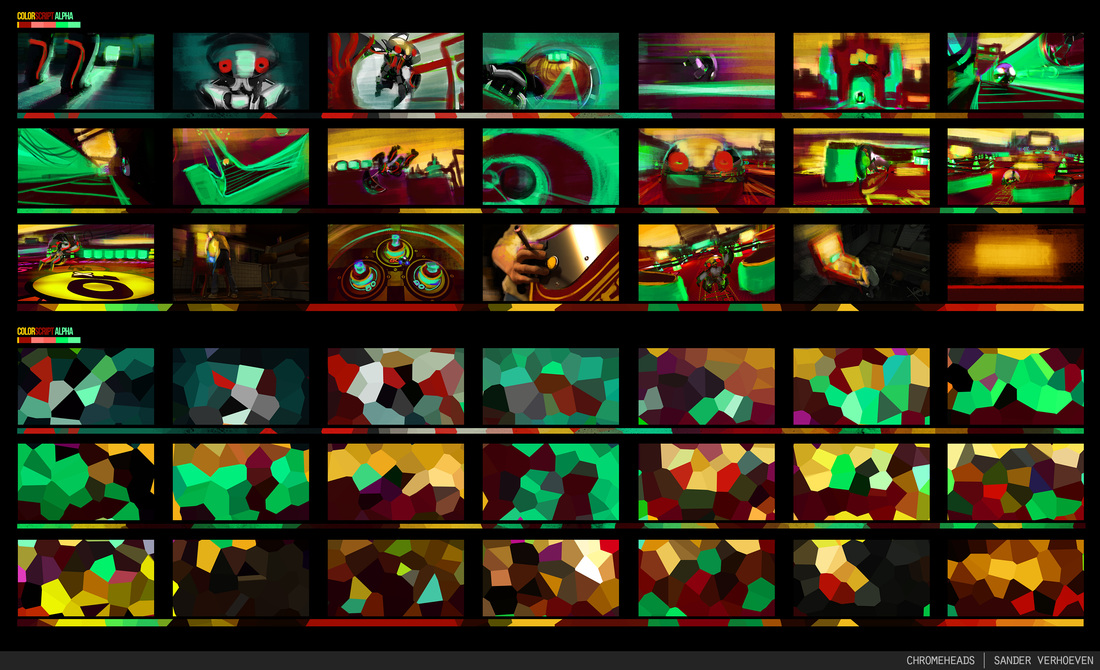
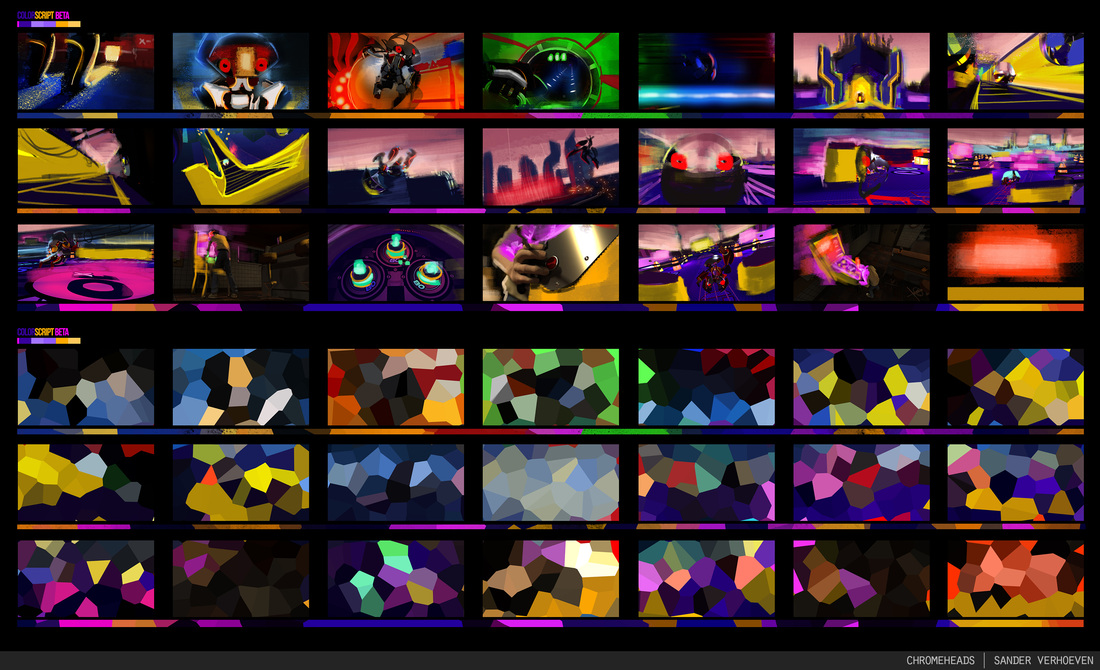
Colorscripts
Along the way we came to the conclusion the lighting did not match up when there was a cut into a new scene. Too fix this I made 2 possible colorscripts which you can see below.
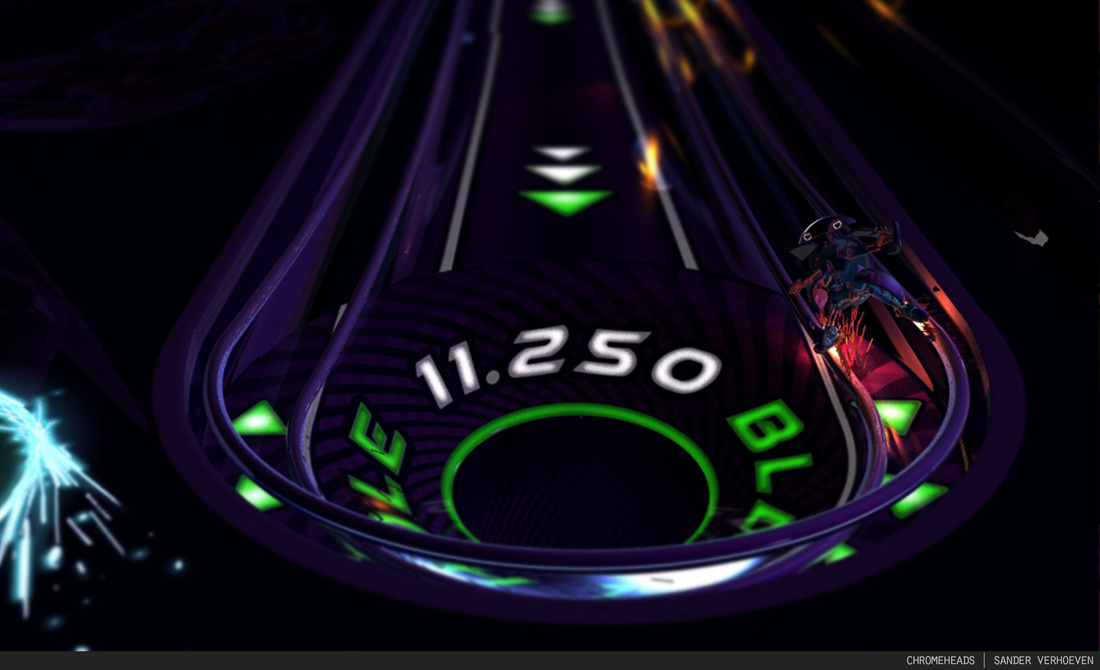
Particles
Together with Roel I worked on the tube scene. Which has seen many different shapes, colours and particles. Below you can see some tests that never made it into the final product.

