|
Rachel van der Meer
|
For this project i took the role of team lead,
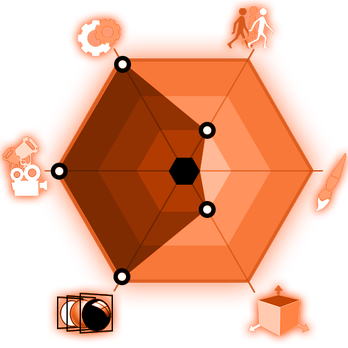
My previous experience with rendering, lighting and production pipelines allowed me to oversee all steps of the production.
Using this knowledge I was able to break down the project into small tasks that allowed the members of my team to work on this project efficiently.
Throughout the production I was able to meet the project needs and keep the group working within allocated deadlines.
The main aim of this assignment was to create and promote the title of the center that we study at the NHTV, Breda University of Applied Sciences.
IGAD, this stands for "International Game Architecture & Design". This was the main requirement for creating this animation.
Pre-Production
The Pre-production stage for which I was involved in consisted of:
- Defining the story of the animation
- Creating initial placeholder geometry
- Laying out basic shots based on the storyboards
- Managing environment asset production for the team
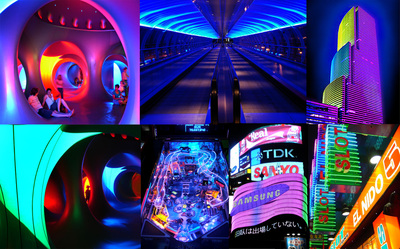
- Designing a look and feel for the cinematic by gathering reference for concept artists
|
|
Initial Proof of concept
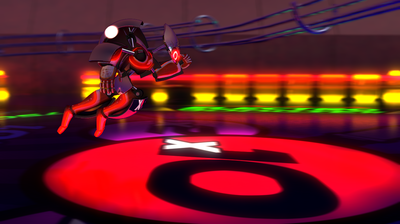
During the initial stages of the project I explored methods of cinematography and tracking the (still undefined by then) pinball character. Here is a test showing how the field of view, camera motion and character animation could combine to get an interesting shot for our droid. |
Inspiration
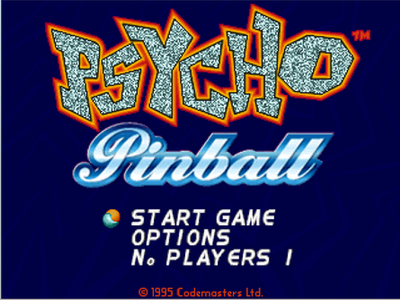
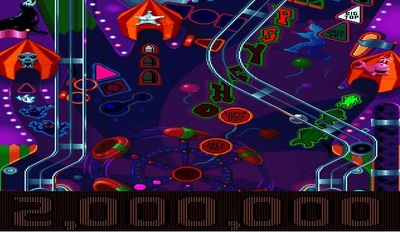
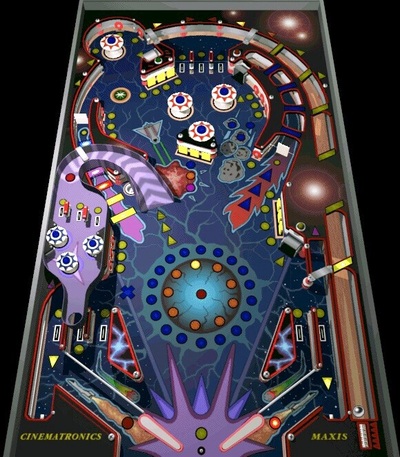
Inspiration came from old pinball games like Psycho Pinball by Codemasters, and Space Cadet pinball which gave some ideas for the look and feel of the project.
It was suggested that neon colors and a more exaggerated animation that could be done over "real world" pinball machines is what we wanted to create for our project.
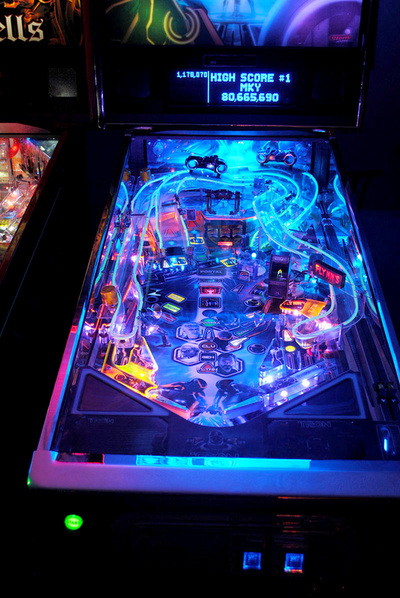
Continuing our research, we also looked at different real world pinball machines that were sci-fi themed, to get an idea for futuristic design processes.
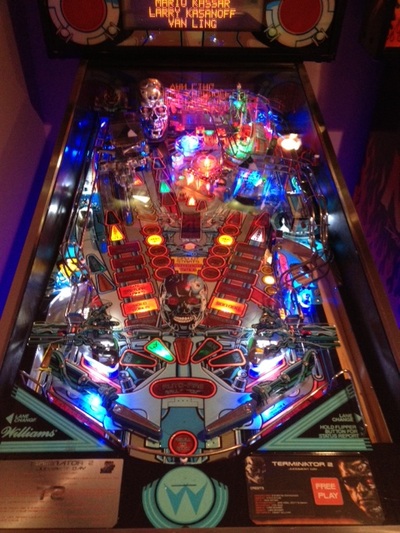
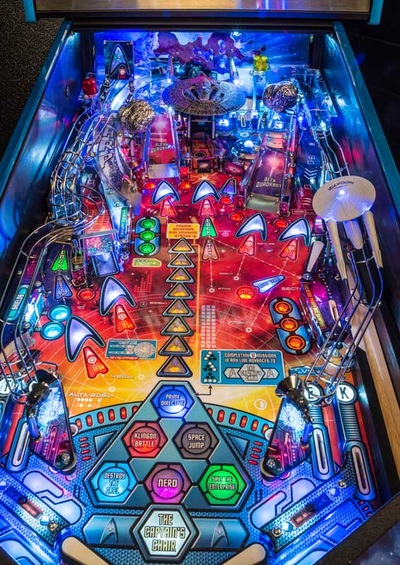
A few examples of machines were studied were the pinball machines of Tron, Terminator and Star Trek, they aligned with the neon style that we were looking for.
Production
Our production phase consisted mainly of creating all necessary assets for the project and making sure they were of a equal standard regarding level of detail and complexity. Members of our team created and rigged the characters that are featured in the animation.
|
|
Procedural shader rig
For the Droid rig i have created a procedural shader that lets animators pick how the eyes should look and how they should be positioned. This was done by combining UV projectors with the rig and linking up important attributes for the animator to modify. The rig supports custom colors, shapes and the variation of the brightness of the eyes |
Shallow depth of field to help focus on the subject
After setting up our initial geometry i explored ways to render our shots.
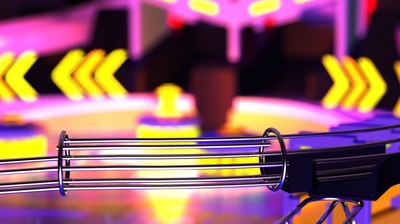
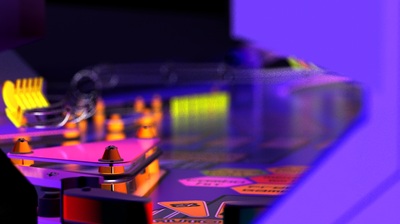
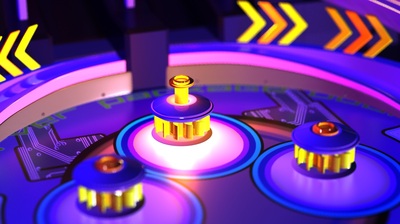
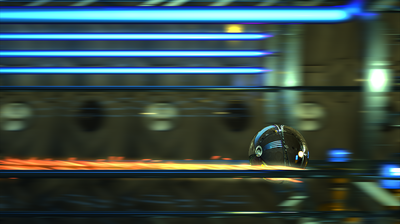
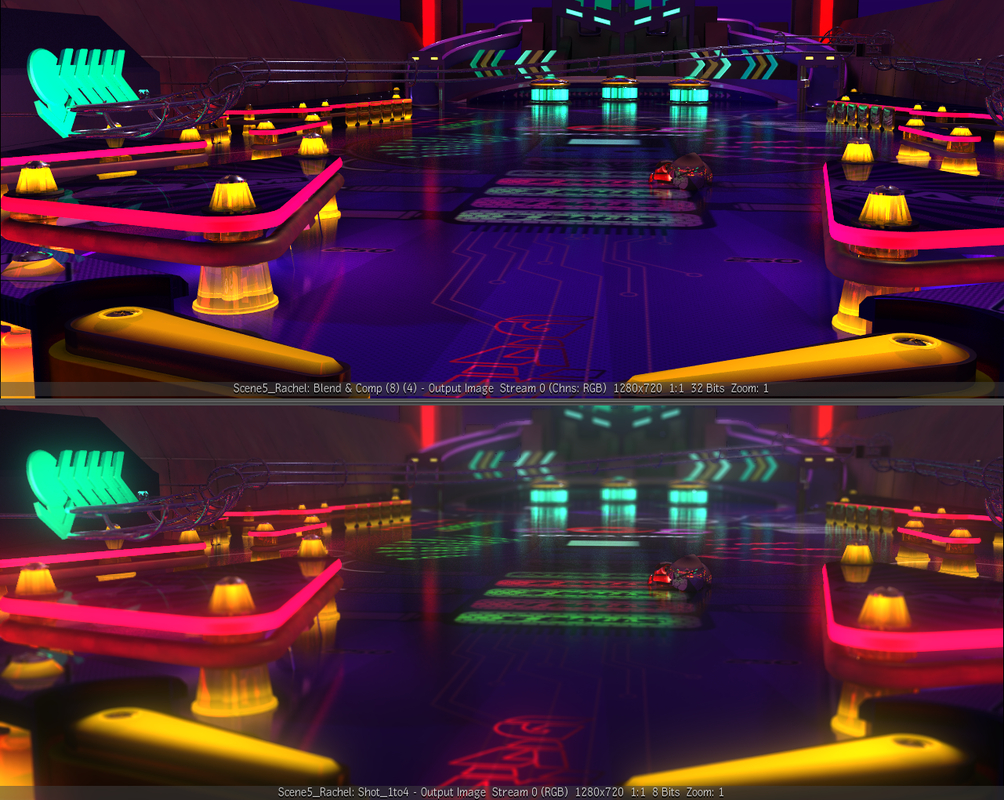
To show the the small scale this world takes place in i have used a shallow depth of field to filter out the background clutter in the busy shots.
In my free time i sometimes practice macro photography, knowledge about how depth of field works with different apertures and focal lengths helped me translate this to the renders:
Rendering depth of field right in our shots resulted in beautiful and accurate shots, however this limited our options in post production, so for the final animation depth of field is created using Zdepth maps to modulate lens blur
Defining the Tube Scene
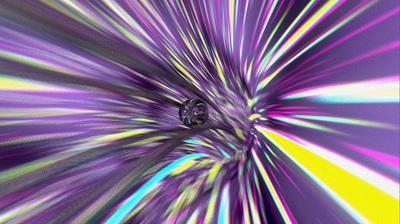
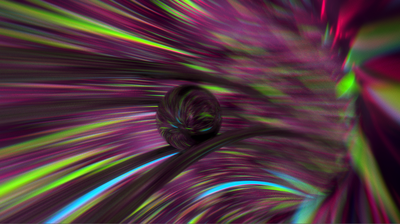
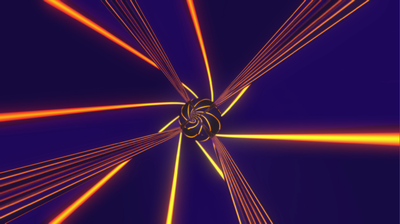
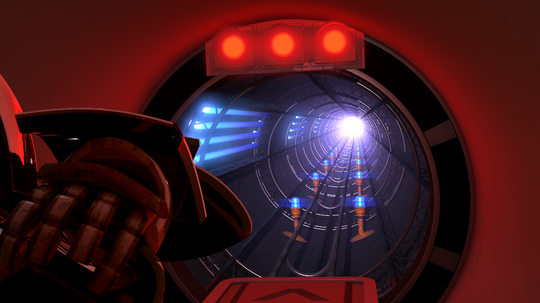
The "Tube" scene has been subject to a lot of change in looks over the duration of the project, I, along with other artists have explored different looks for this scene. The main goal was to express speed, disorientation and making it look slightly scifi. Aside from motion blur and starfield textures we have also experimented with clouds, multiple layers of translucent textures to create parallax and eventually also spiraling lines.
The "Tube" scene has been subject to a lot of change in looks over the duration of the project, I, along with other artists have explored different looks for this scene. The main goal was to express speed, disorientation and making it look slightly scifi. Aside from motion blur and starfield textures we have also experimented with clouds, multiple layers of translucent textures to create parallax and eventually also spiraling lines.
Shader construction
Our pinball machine environment contained a lot of illuminated surfaces, objects like edge lit plexiglass, backlit floors or just leds on their own.
Some objects had to be capable of illuminating our main character. Here is how they look in the final animation.
Our pinball machine environment contained a lot of illuminated surfaces, objects like edge lit plexiglass, backlit floors or just leds on their own.
Some objects had to be capable of illuminating our main character. Here is how they look in the final animation.
Pipeline
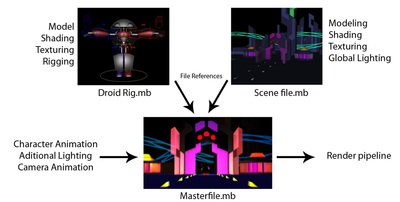
Because of the scale of our project and team it was important to set up a pipeline that let multiple members work on something simultaneously.
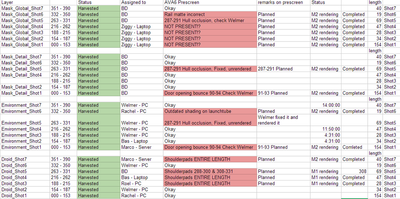
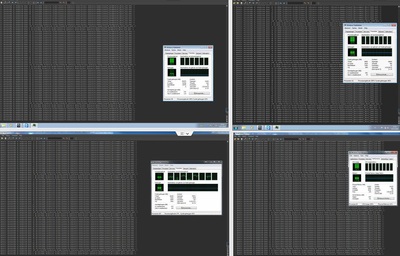
We achieved this by using Reference files during the animation stage of the production. This allowed animators to keep animating while the model was still being finalised and the scene still being populated with assets. To keep our render machines rendering around the clock we divided the frames that needed rendering into small render jobs, these jobs could be assigned to any render server that was available at that moment.
After rendering was finished our project folder has grown to 170GB of data, including scenes, composites, renders and animations.
we managed to sync relevant parts of this directory to the respective team members by the use of Synology Cloud Station, This program works similar like dropbox, but is hosted on a local server. Using this system we could ensure all our render servers were rendering the latest files, also we could revert overwritten files to an older version, this feature has been used multiple times throughout the project.
Postproduction
Depth based color correction is used here to give a sense of depth, also by creating a shallow depth of field i managed to "focus pull" the character as it moved through the environment. Because the frames were rendered in 32-bit the blurring of illuminated objects created pleasant haloing and bokeh effects.
|
|
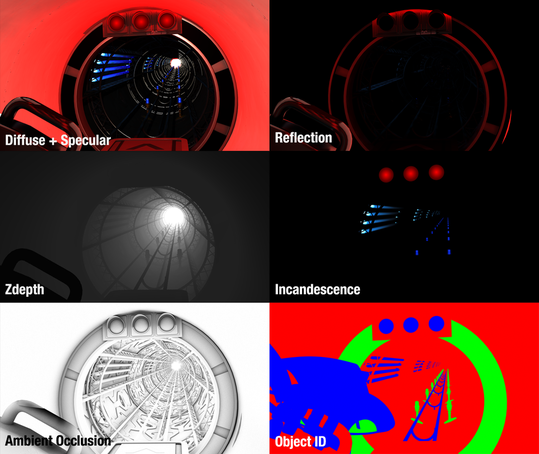
Composite Breakdown
After rendering out all frames i have composited all layers together using Autodesk Composite. The multi channel 32-bit EXR files allowed us to dial down the final look of our animation. |

